Problem Mini-Split? When to Replace and How to Install It Right
Tired of a ductless mini-split that’s nothing but trouble? Learn when to repair vs. replace, what warranties really mean, and how to get a trouble-free installation.
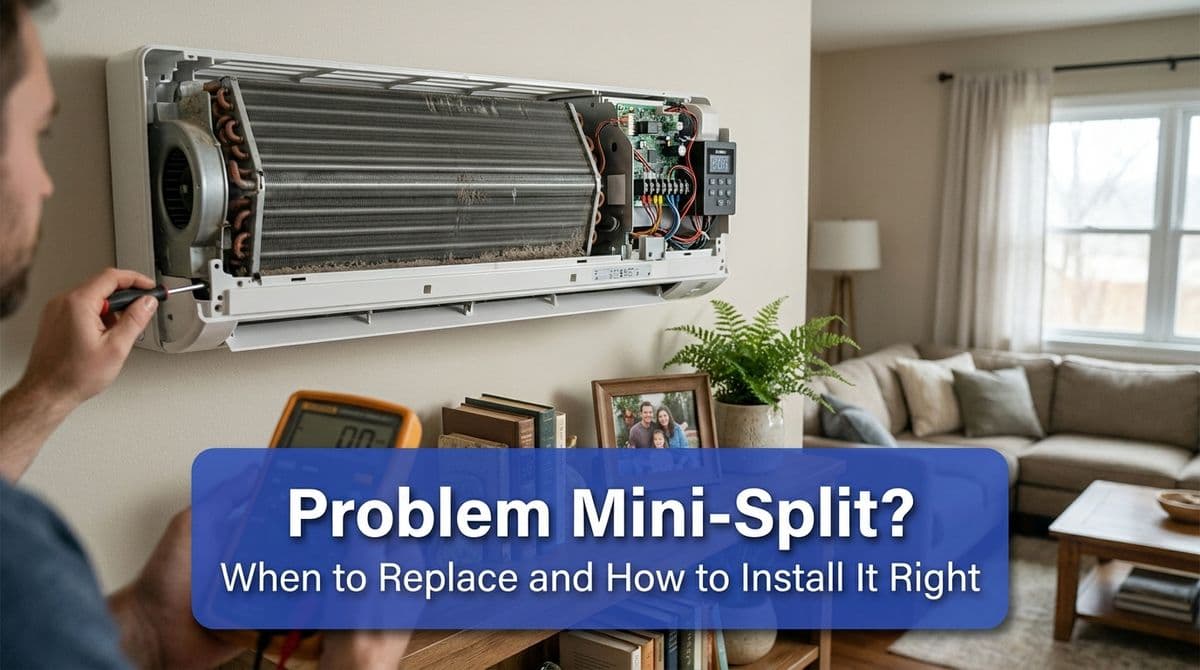
When Your Mini-Split Is Nothing but Trouble
We recently got a call from a homeowner — let’s call him Mark — who was at the end of his rope with a ductless mini-split in his dog room. The system had been a problem since day one: refrigerant leaks, repeated “top-offs,” mystery electrical issues, and finally a failed control board that was going to take nine weeks to replace.
Meanwhile, he had four dogs depending on that room staying cool. His main question to us was simple: “Can you just pull this thing out, put a new one in, and make it dependable?”
That call is a perfect example of when it’s time to stop repairing and start planning a proper replacement — and how to do it in a way that avoids another headache.
Repair vs. Replace: How We Decide
When someone like Mark calls, we don’t automatically jump to replacement. We walk through a few key questions:
- How old is the system? Under ~5 years and properly installed? We’ll usually push harder to repair. Over 8–10 years, replacement starts to make more sense, especially with major failures.
- Has it ever worked reliably? In Mark’s case, it had never been right. Chronic refrigerant leaks and repeated service calls are a strong sign of an installation problem, not just a “bad unit.”
- What’s failing? A simple sensor or fan motor is one thing. Multiple control boards, recurring leaks, or compressor problems are another. When failures are spread across the system, that’s a red flag.
- How long will parts take? Mark was told a critical board was nine weeks out. For a comfort-critical space like a dog room or nursery, that’s usually not acceptable.
- How much have you already spent? If you’ve paid for multiple leaks, recharges, and parts, and the system is still unreliable, throwing more money at it rarely pays off.
In situations like Mark’s — young-ish system, but obvious install issues, chronic failures, and long parts delays — we often recommend replacement with a properly installed, brand-backed system rather than chasing ghosts.
What Those Mini-Split Warranties Really Mean
On our call, Mark said he didn’t care much about warranty; he just wanted something that worked. That’s completely understandable when you’ve been burned. But the warranty options are worth understanding because they influence both price and peace of mind.
Most ductless systems offer something like this for parts warranties (labor is separate):
- 3-year parts – Basic coverage, often for budget lines or non-registered installs.
- 5-year parts – Mid-range systems or standard manufacturer coverage.
- 7–10-year parts – Premium models or extended warranty when the system is registered and installed by an approved contractor.
Here’s the key: a long warranty doesn’t fix a bad installation. You can have a 10-year parts warranty and still be miserable if the system is poorly sized, improperly charged, or sloppily installed. A great warranty is the backup plan — the installation is the foundation.
When we price a mini-split replacement, we’ll usually ask what level of warranty you care about. If you tell us, like Mark did, “I just want dependable,” we’ll typically recommend a solid mid- to upper-tier unit with at least 7–10 years of parts coverage from a manufacturer we trust — then focus heavily on the install details that actually keep you out of trouble.
How We Prep for a Trouble-Free Replacement
On the phone with Mark, before we ever talked price, we asked for something specific: clear photos of the existing outdoor unit’s model and serial number, plus some wide shots (“panoramics”) of the indoor and outdoor areas.
That might sound like overkill, but those details let us:
- Match or adjust the capacity (BTUs) so the new unit is properly sized for the room.
- Confirm the electrical requirements so we know if the existing power supply is adequate.
- Plan line set routing and drain so we can correct any obvious issues from the old install.
- Estimate labor accurately — is it a simple swap or is there drywall, conduit, or stand work involved?
Good planning is the difference between a quick, smooth one-day replacement and a “whoops, we need to run to the supply house three times” kind of job.
What a Proper Mini-Split Replacement Should Include
If you’re replacing a problematic ductless system, here’s what you should expect (and ask for) to keep the new one trouble-free:
- Full removal of the old system – Indoor head, outdoor unit, and any abandoned line sets or wiring that could cause confusion later.
- New properly sized line set (when needed) – Re-using old lines from a leaky install isn’t always wise. In some cases we’ll flush and reuse; in others we’ll replace completely.
- Accurate refrigerant charge – No “top-offs.” We weigh in the charge per manufacturer specs, verify with pressures and temps, and test run.
- Proper condensate drainage – Leaks and water damage often come from sloppy drain lines. We slope, secure, and test the drain.
- Correct electrical work – Dedicated circuit, proper breaker size, disconnect at the outdoor unit, and tight, neat terminations.
- Vacuum and leak check – We pull a deep vacuum on the system and verify it holds before releasing refrigerant. This is a big one for long-term reliability.
For a simple setup like Mark’s — indoor unit on a wall, outdoor unit directly below on the outside — the job itself is usually straightforward once we’ve done the homework.
How to Help Your Install Go Smoothly
If you’re in a situation similar to Mark’s, here are a few ways you can help make your replacement painless and reliable:
- Gather information – Snap clear photos of your current unit’s nameplate, electrical panel breaker, and both indoor and outdoor locations.
- Be honest about the history – Tell your contractor if it’s been leaking, freezing up, or never quite right. That helps us spot install issues to avoid repeating.
- Ask about lead times – For both equipment and install dates. If a part is many weeks out and you need comfort now, talk frankly about replacement.
- Discuss warranty and brands – You don’t have to chase the longest warranty, but make sure you understand what you’re getting and who backs it.
Most importantly, choose someone who’s transparent about timelines and scope. With Mark, we laid out when we could get pricing, equipment availability, and the earliest realistic install window — and we stuck to it.
Ready to Retire a Problem Mini-Split?
If your ductless unit has been “nothing but trouble” — constant leaks, repeated repairs, parts on backorder — it may be time to stop chasing fixes and start fresh with a properly installed system.
We’re happy to look at photos, talk through repair vs. replacement, and help you land on a setup that just quietly does its job, whether it’s a dog room, sunroom, or any other space in your home.